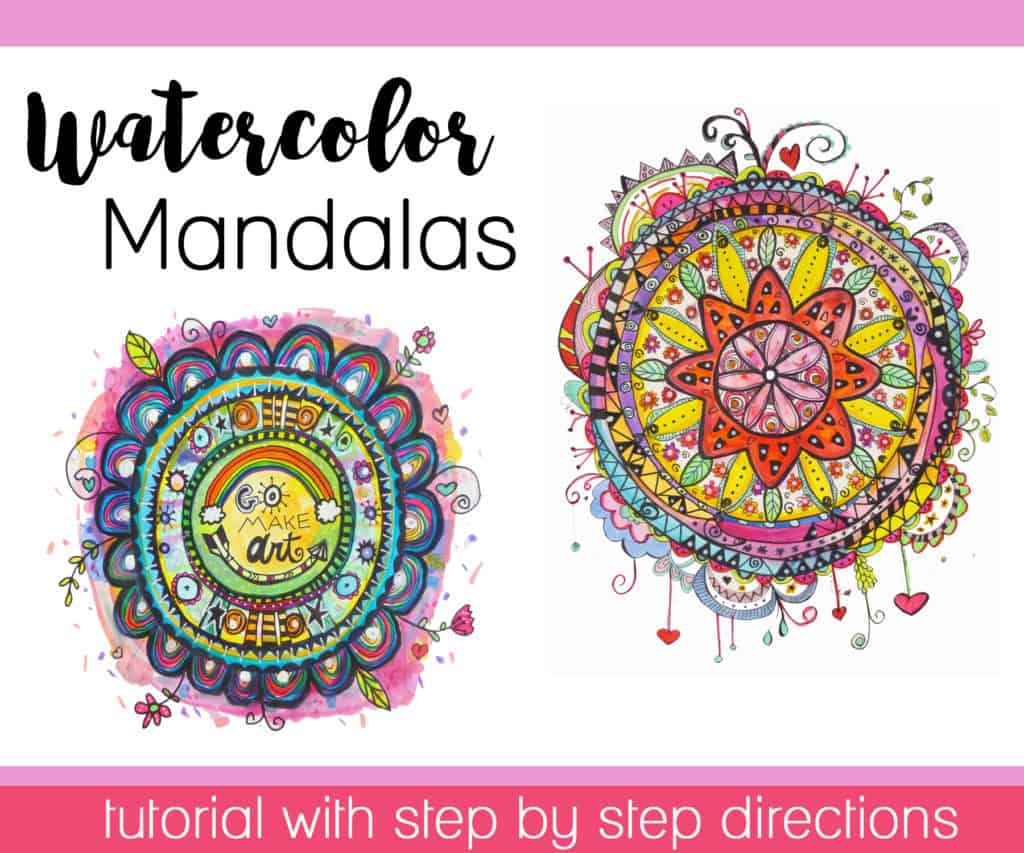
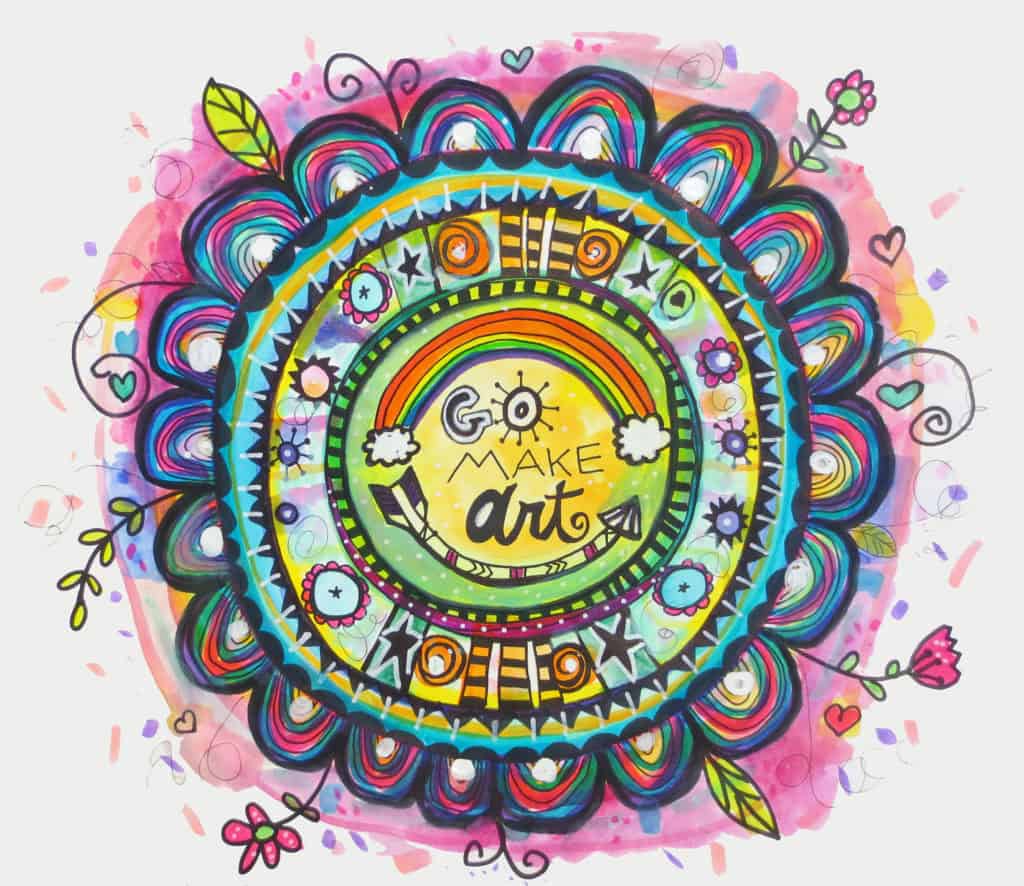
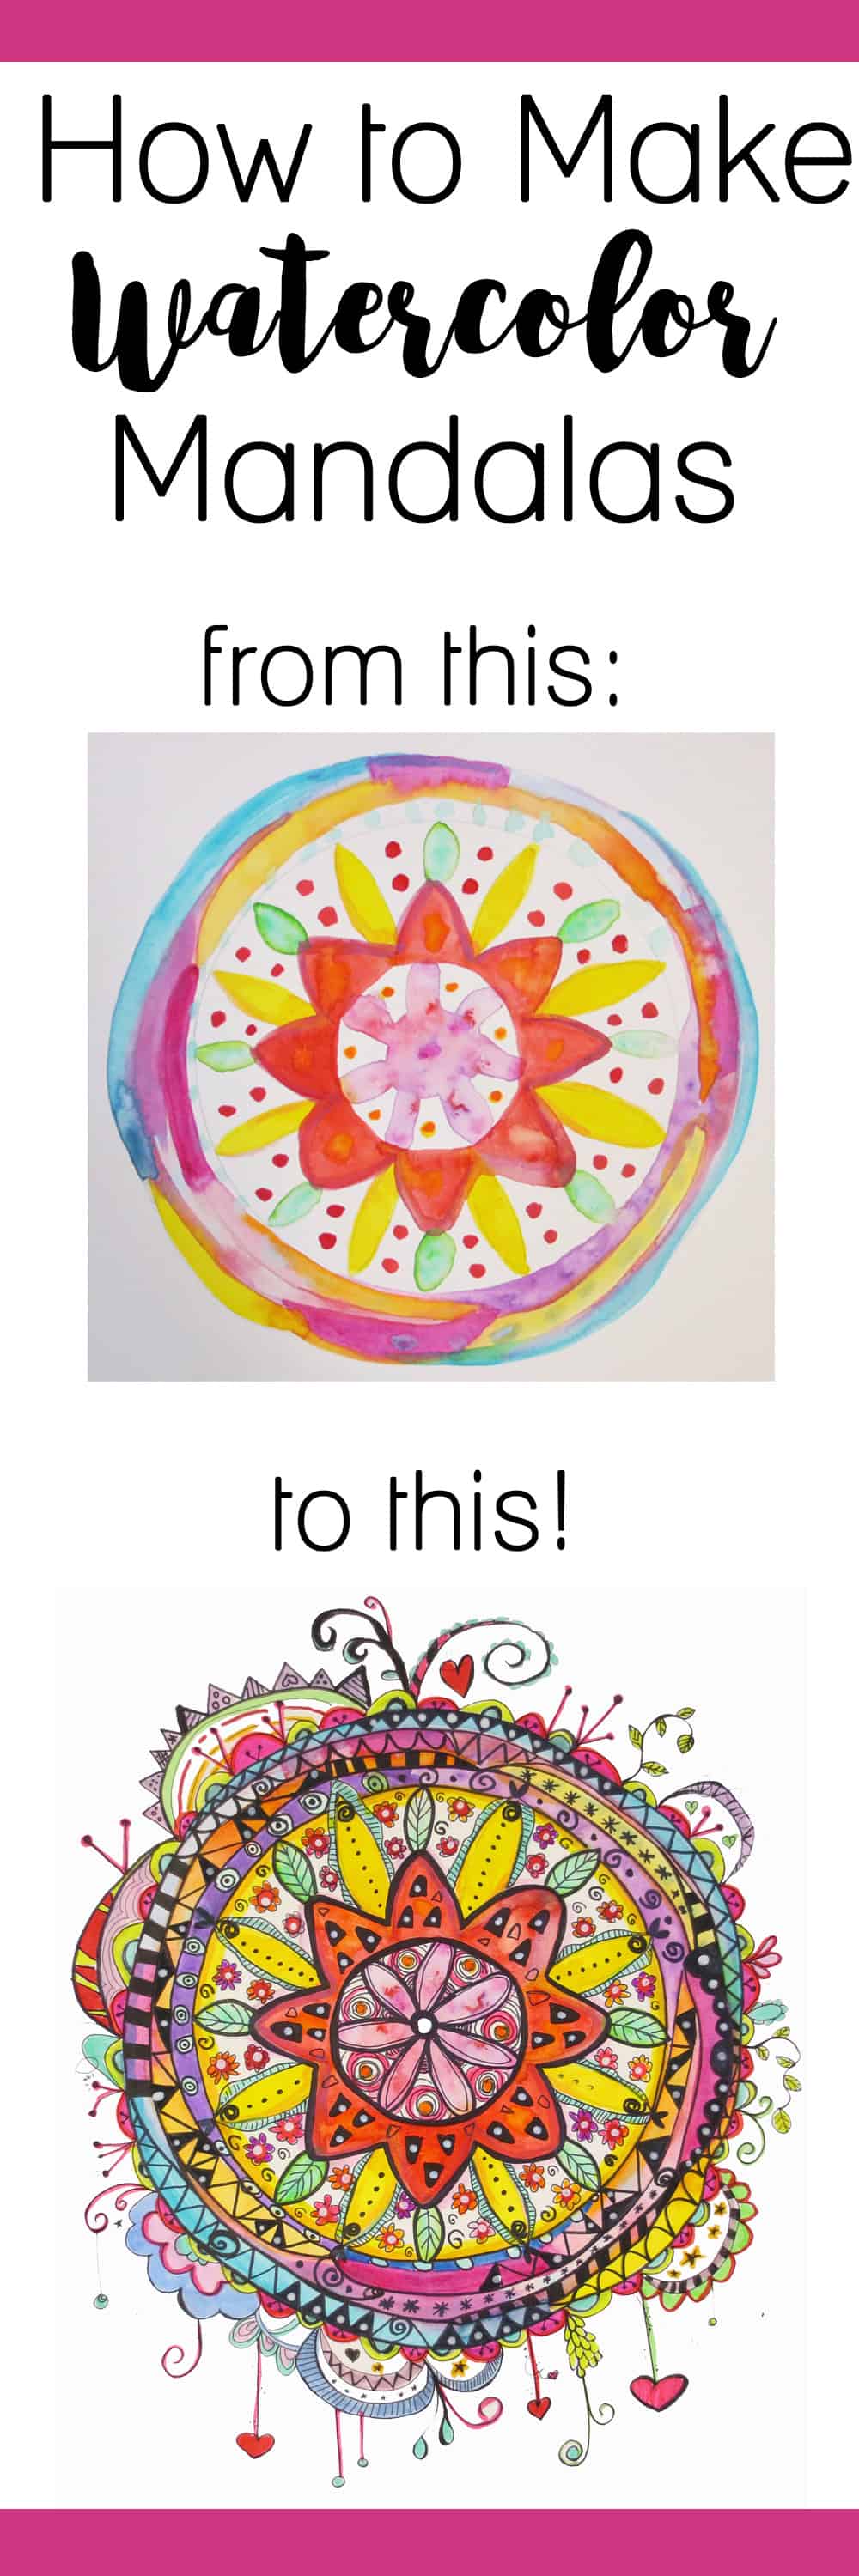
 Earlier this summer I wrote a blog post about how to make watercolor doodled flowers. These mandalas I created were made with a very similar technique. Both these mandalas and the flowers were made by starting with watercolor paints and then doodling on top with thin markers.
Products I Use (Amazon Affiliate links are used)
- Prima Marketing Watercolor Confections: Tropicals
- Prima Marketing Watercolor Confections: The Classics
- Sakura Koi Brush Pen Set
- Sharpie Permanent Marker, Fine Point
- Sakura Micron Ink Pen Set, Black
- White Molotow Paint Marker
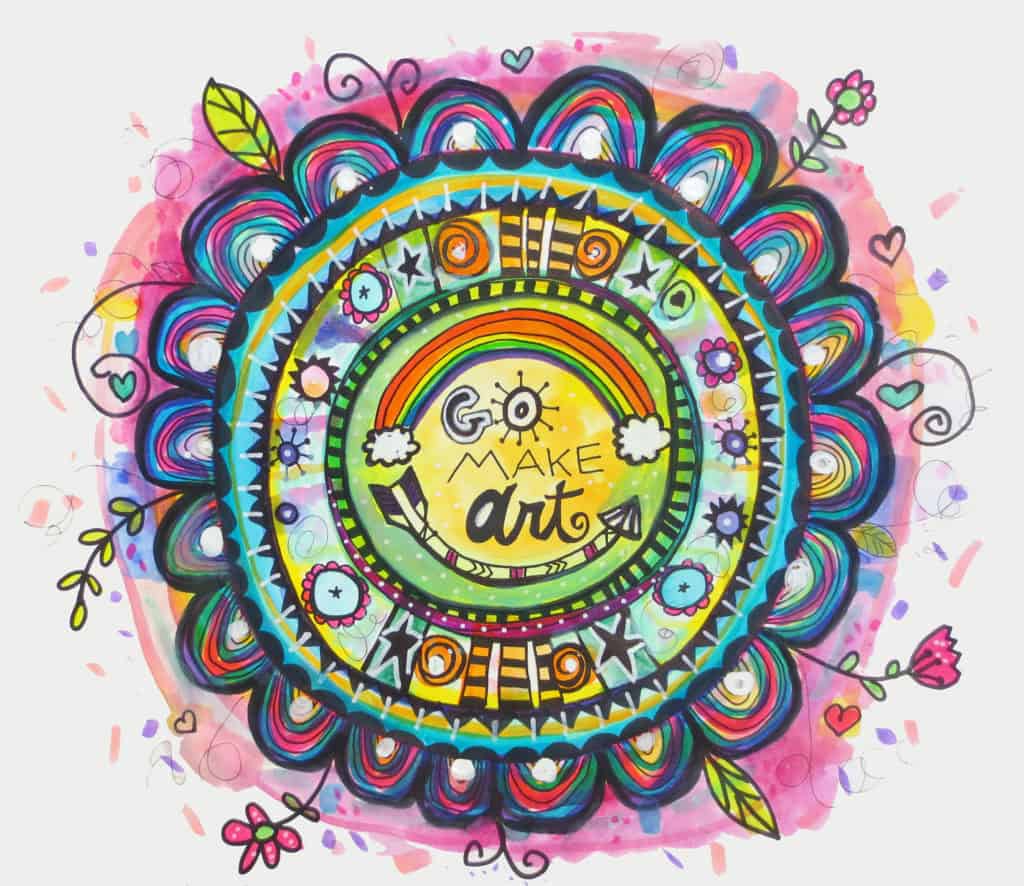 Here are the secret steps to this technique. :)
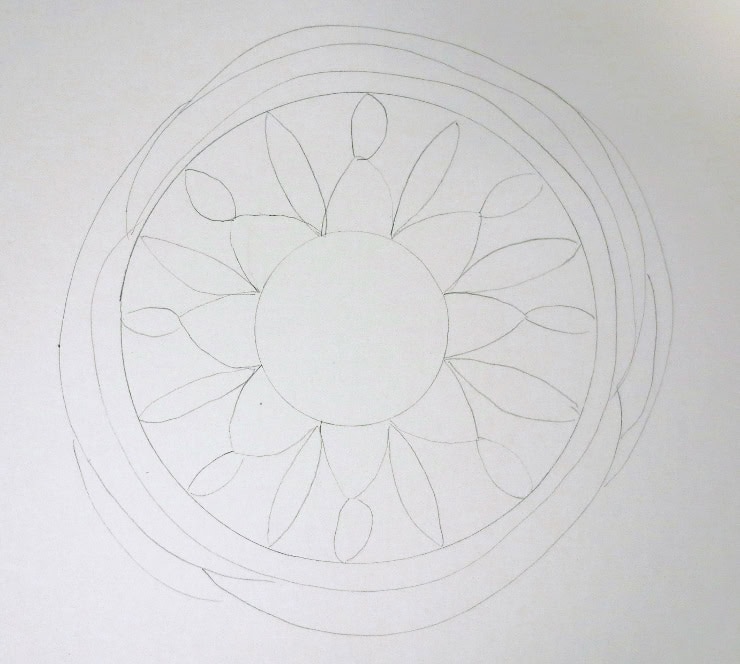
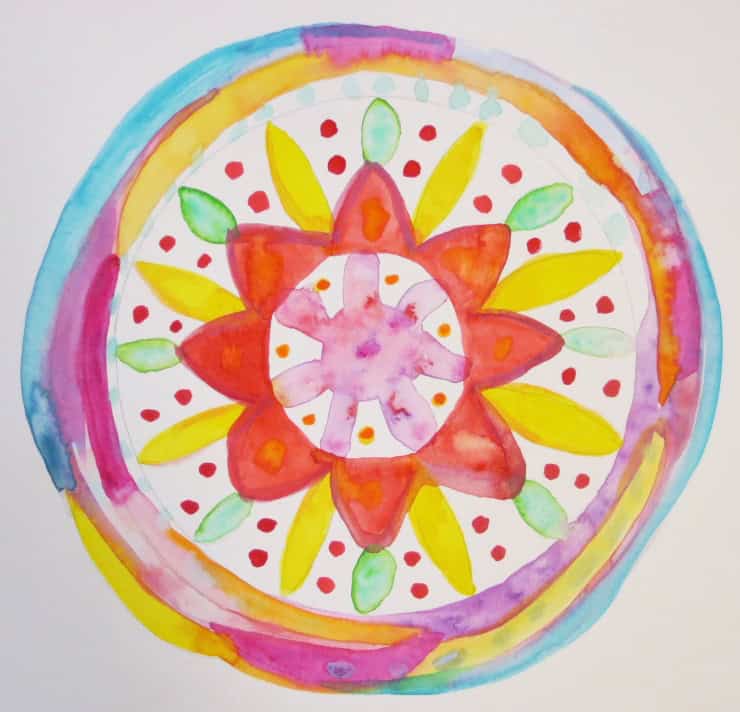
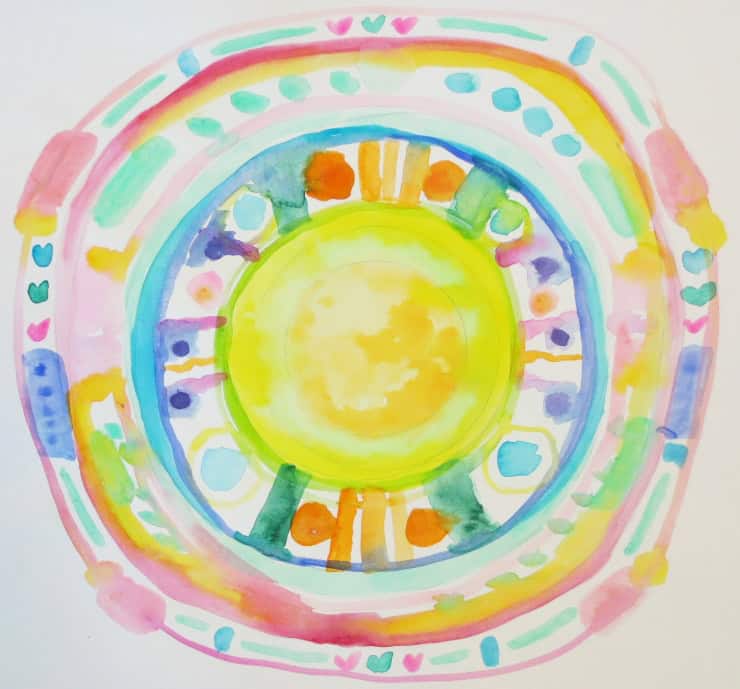
1. Start by tracing a circle in the middle of your paper with pencil. I used a round lid. Then build off of it by drawing simple shapes repeating around the circle. Keep it loose and don't worry about them looking perfect. Trace larger circles or freehand draw circles around the outside. Again, aim for it to be somewhat symmetrical, but don't fixate on perfection! You could use a compass, but I wanted both of mine to be more loose designs.
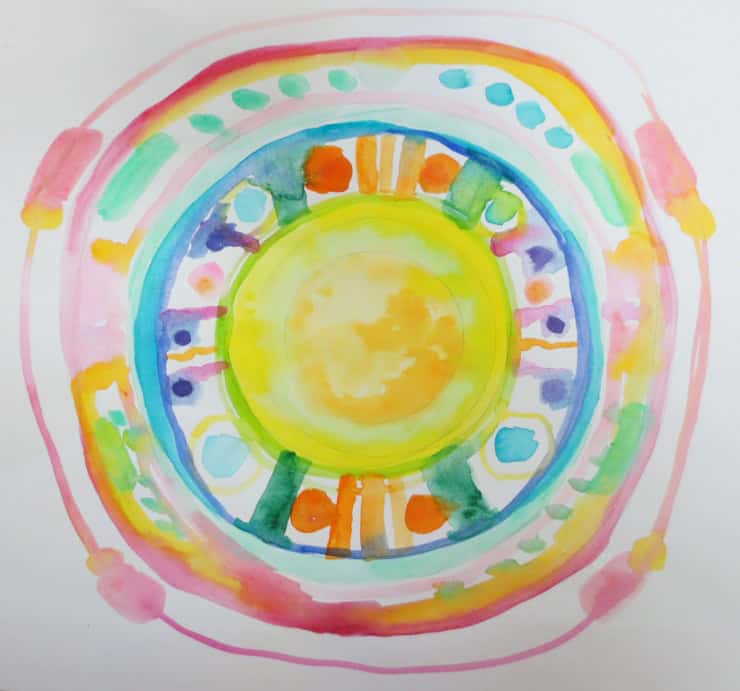
 2. Start painting around the circle, using watercolor paints. I mostly chose to repeat the same color in the same shapes around the circle, but you can do it multi-colored or however you want! One of my favorite watercolor techniques is to make a wet wash of color (like the purple in the center, below) and then while it is still wet dab or dot in other colors (the red).
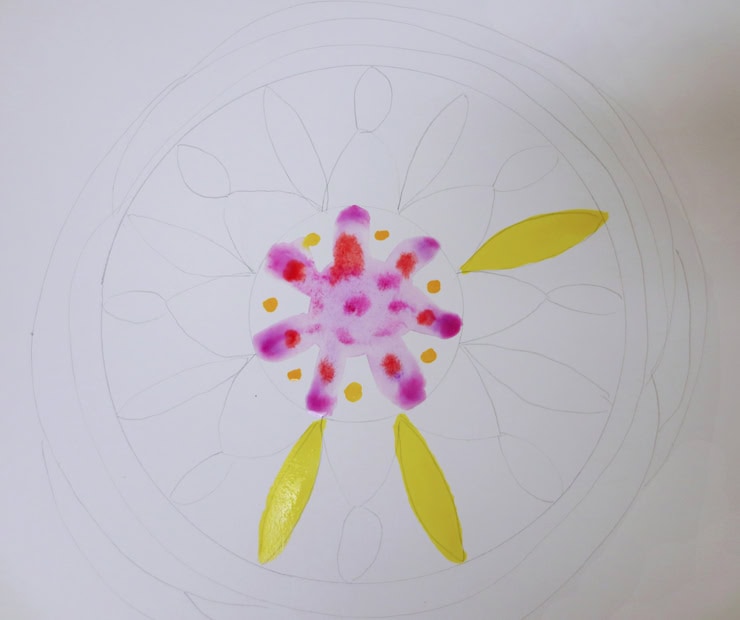 3. Keep on going this way, blending and adding color to various sections. I like to layer similar colors on top of each other (like blue and violet). Have fun with it. If it's not perfect, don't worry, you will add more color with markers later.
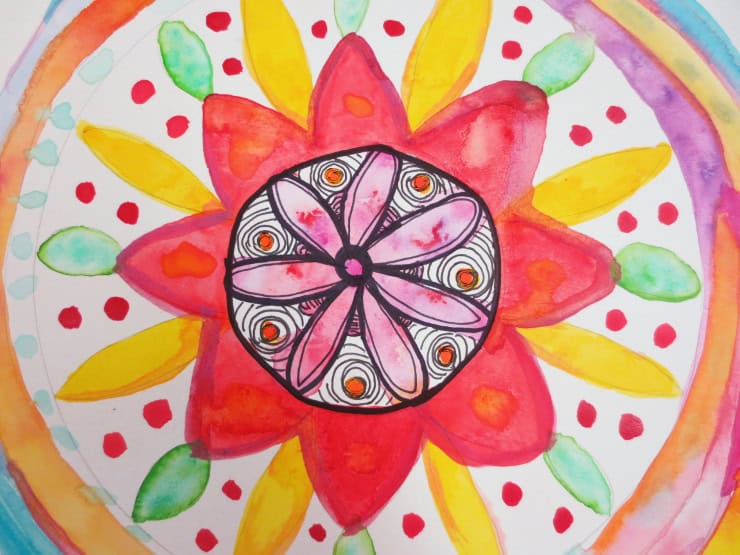
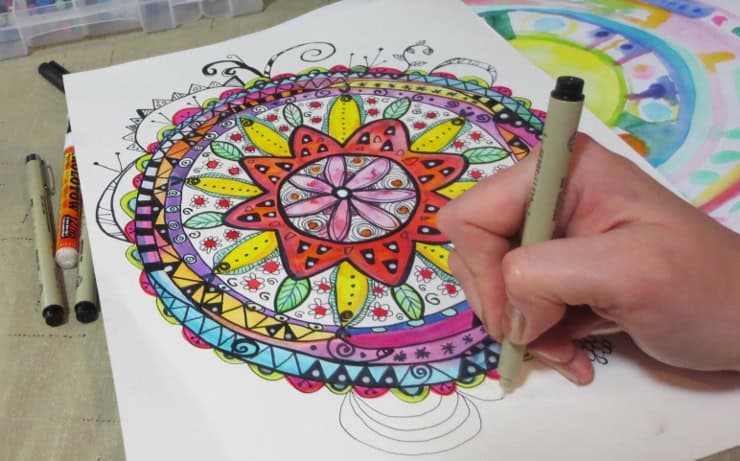
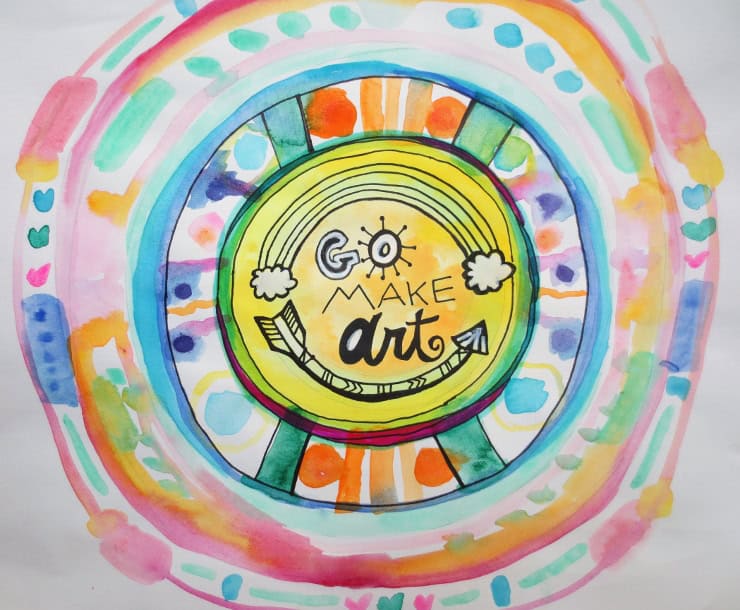
 4. Once you are satisfied with the amount of paint, use your Micron fine line pens to add line patterns and designs. Use a fine point Sharpie to outline some of the areas. Turn your paper around and around as you go. Continue adding doodles, lines and patterns. Consider using pattern sheets or Zentangle books for ideas.
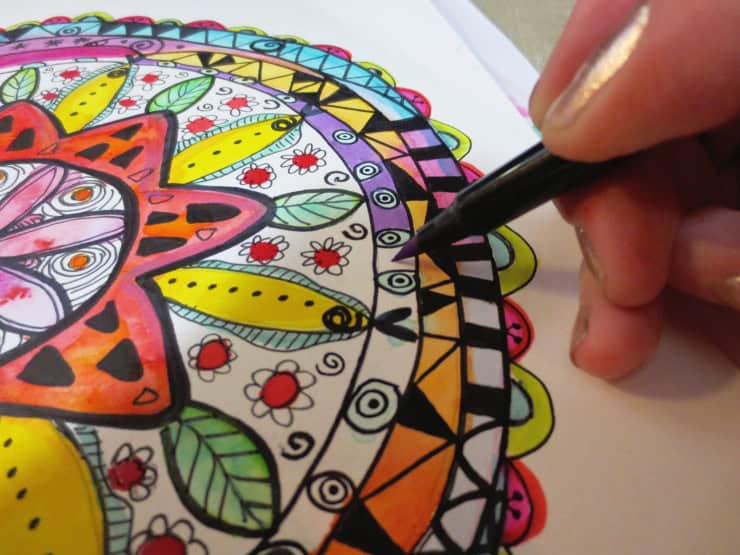
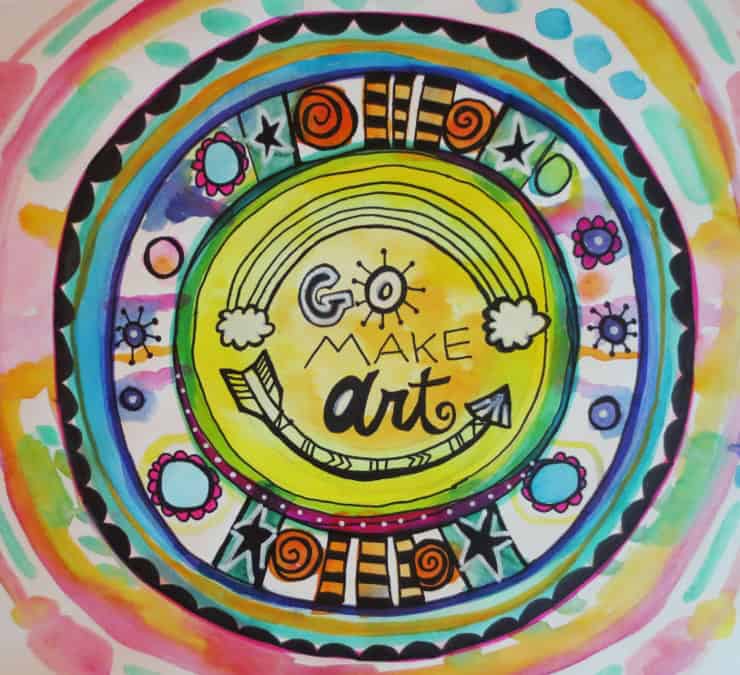
 5. After (or while) adding black doodles, think about how you can add more color to the picture. I love using my Sakura brush markers (they are expensive, so I don't use them with students) to color, but any markers will do!
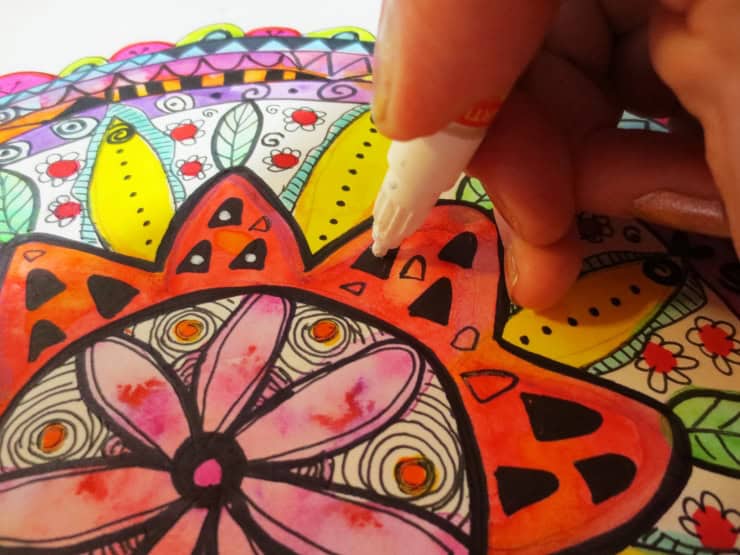
 6. You can add white dots or lines on top of the colors with a white paint marker.
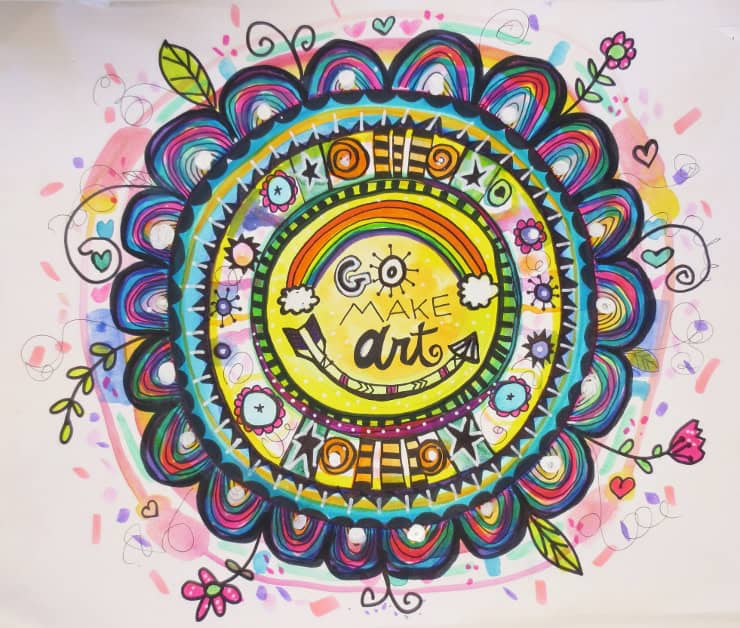
 7. After you are happy with the majority of your mandala, you can make additional doodles or creative "dangles". I like having little doodles hanging down.
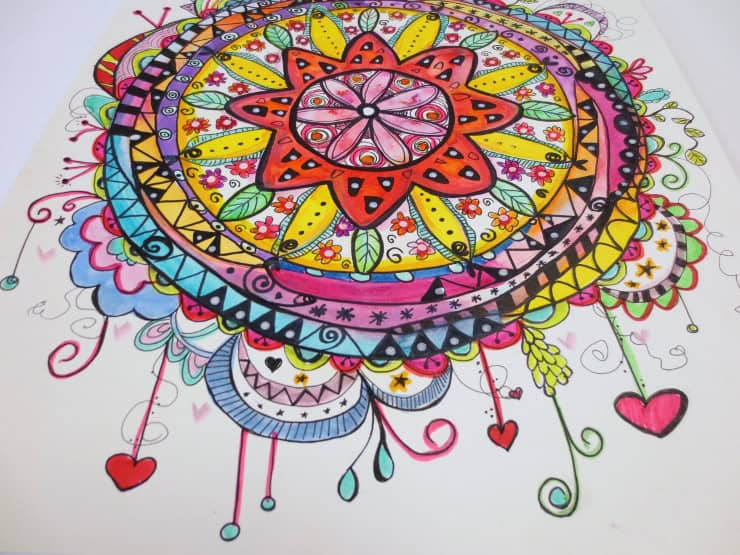 Here is the finished watercolor mandala!
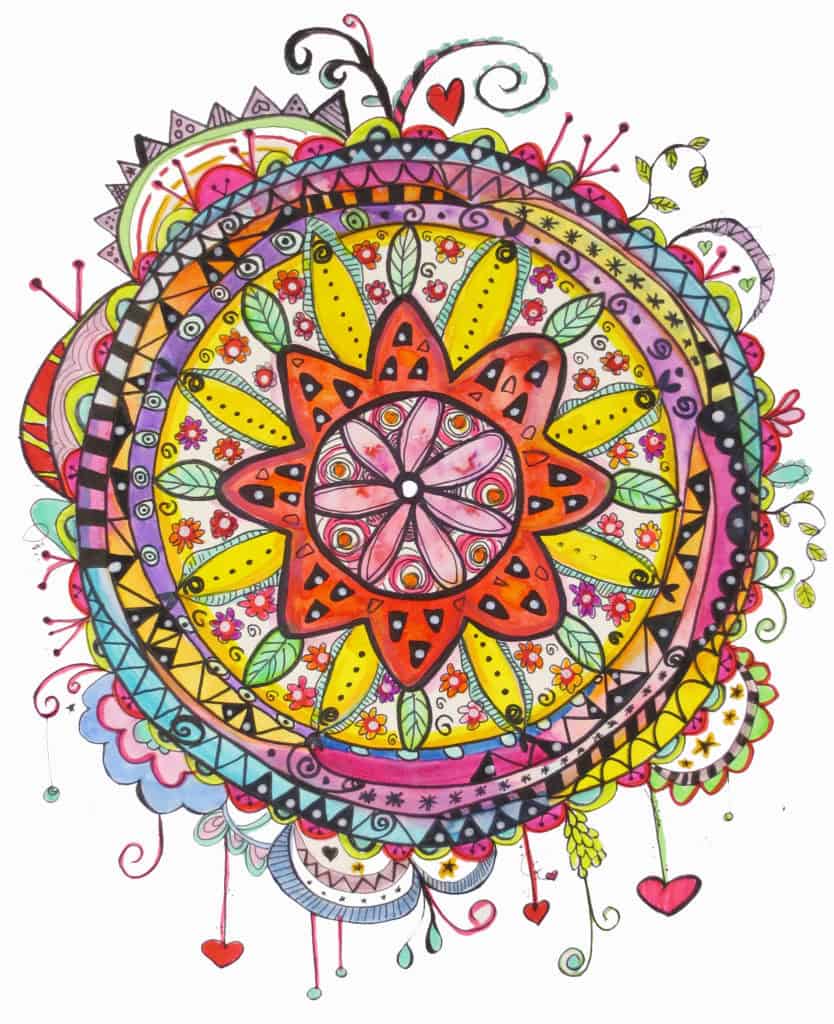 Okay, that was fun, right? I'm going to show you the progress photos of another watercolor mandala I made.. using practically the same steps.
 Thanks for reading! Do you like making watercolor mandalas? Share in the comments.
 Art is Basic
 Etsy


1 comment
Love the mandalas! So creative and colorful!! Thank you for the step-by-step. Happy Holidays to you and your family.
Post a Comment