Showing posts with label tutorial. Show all posts

How to Make a Collage Christmas Tree

Are you looking for a fun art project to try over winter break with your kids?  Here is one that is sure to be festive, fun and creative! Christmas Tree Collage for Kids What you will need:
1.  Begin by drawing a Christmas tree shape on a piece of watercolor paper. 2016-12-16-13-09-15 2.  Start by painting in the sections of the tree with various shades of green.  Get your brush nice and wet while painting. 2016-12-16-13-10-11 
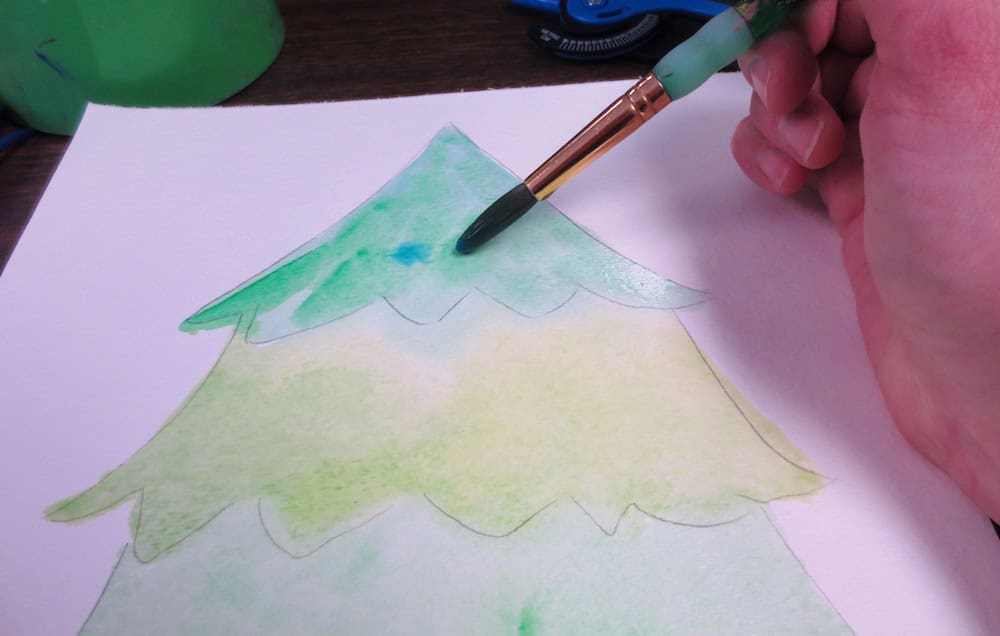
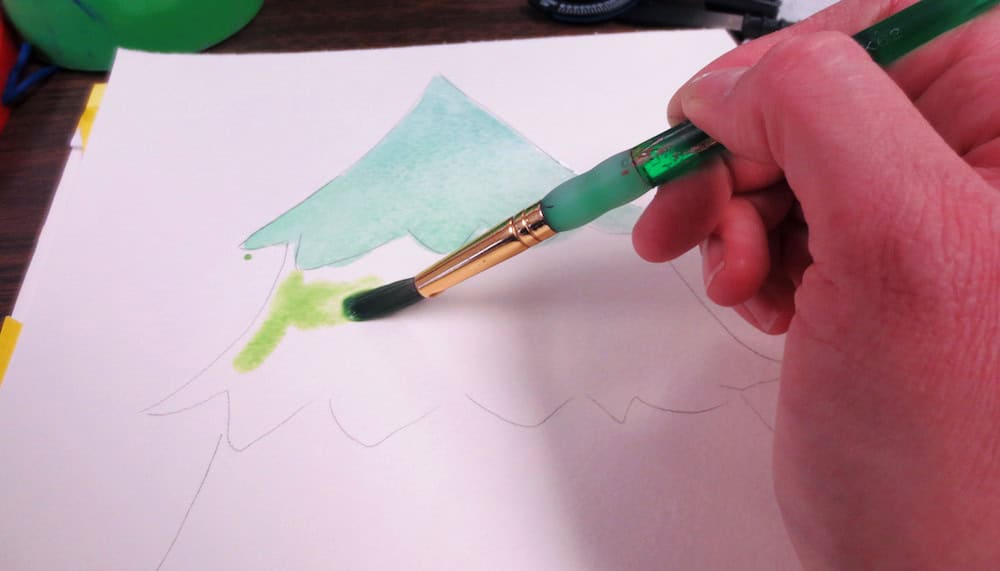
3.  While the paint is still wet, I like to dab in other colors that are similar (yellows, turqouises, different shades of green).  The colors blend and spread in a way that is unique to watercolors. painting-the-christmas-tree 
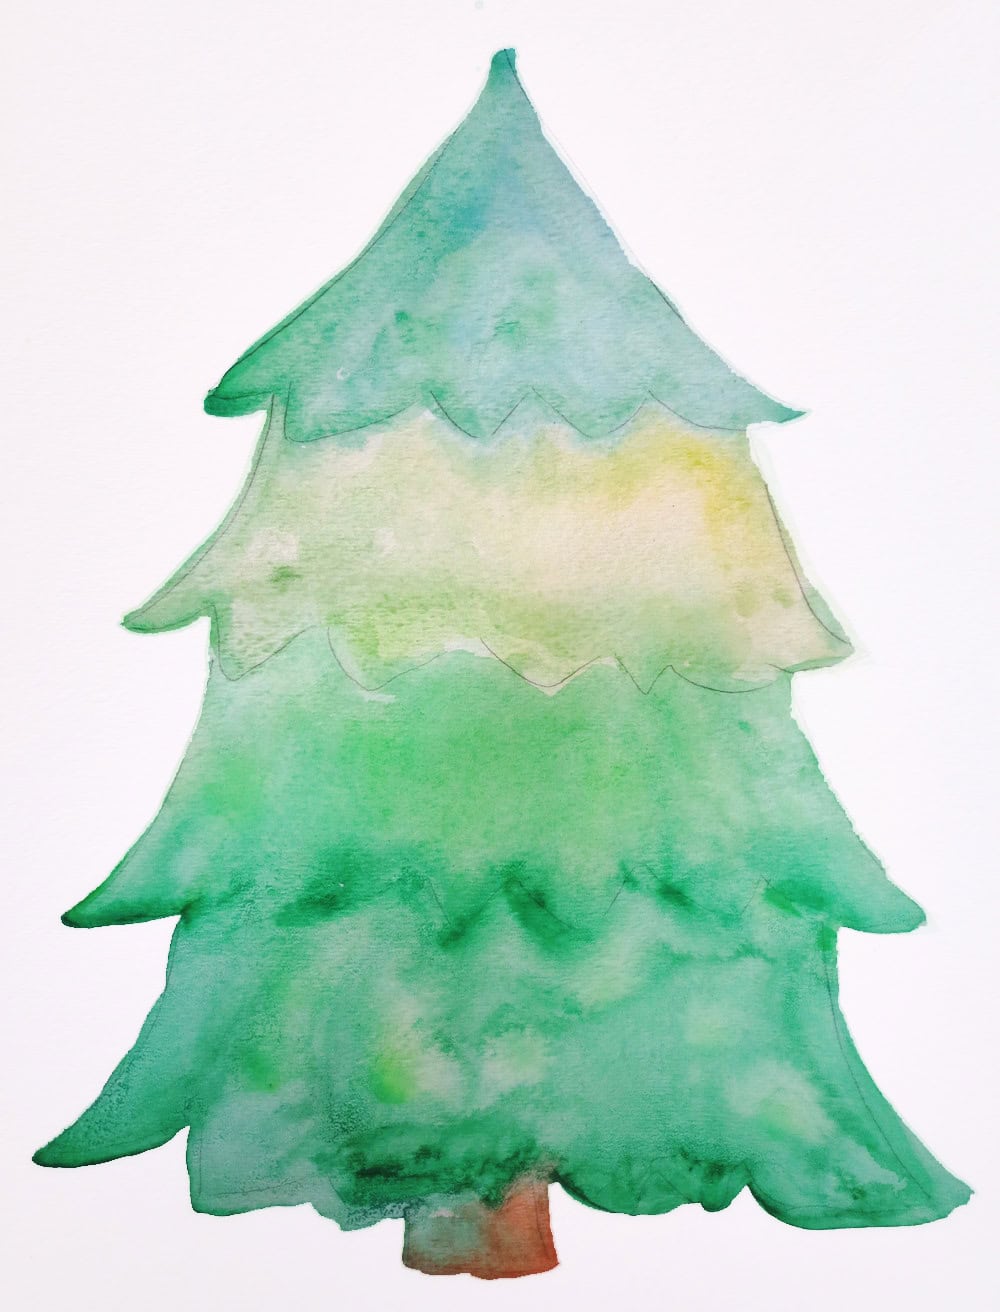
4.  When you are finished painting the tree, let it dry for several hours. Watercolor Christmas tree 5.  While it is drying, take some time to gather the items that you will use to decorate the tree.  I have a stash of paper scraps that I keep handy for projects like these.  Use scrapbook paper, previously painted pages, magazine cut outs or stickers.  I happened to have an astronomy magazine which had some really beautiful celestial images as well as some children's magazines that had that moon image. I also belong to a really fun Stickers of the Month club called Pipsticks, where I get a curated package of super cool stickers sent to me every month (kind of like those makeup bag of the month kit or Barkbox.)   If you use this link, I get a referral credit! 2016-12-16-14-51-126.  When your tree is thoroughly dry, you can start decorating!  Cut out wavy line shapes for garland or use markers to draw them on.  Stick on star stickers, magazine cut outs or draw stars in the sky. Choose something festive to add to the top of your tree. Tree in progress 
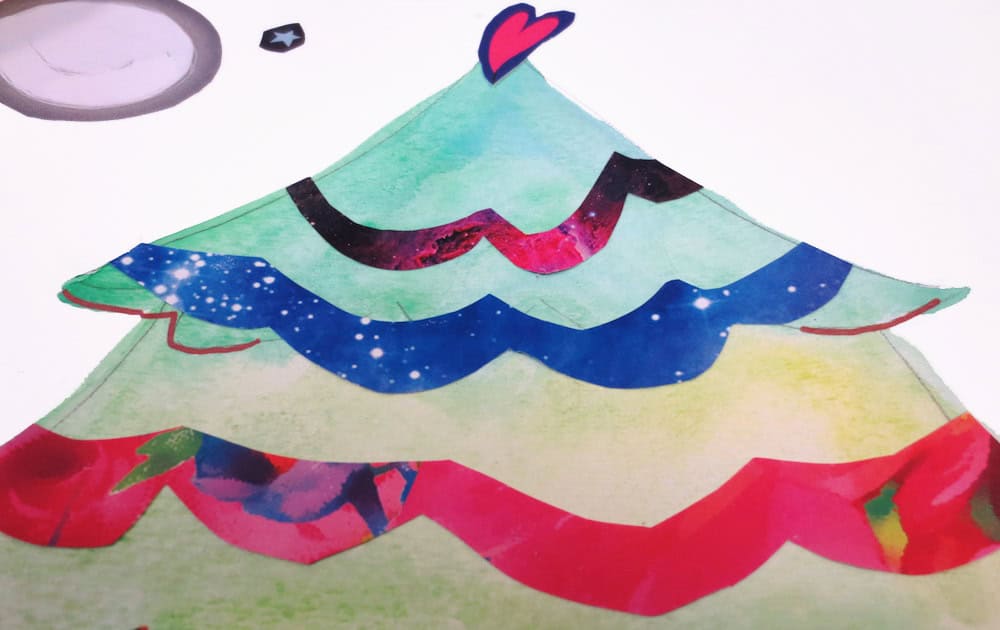
I outlined the tree sections with black Micron markers and added additional doodling to the bottom of the tree. christmas-tree-collage 
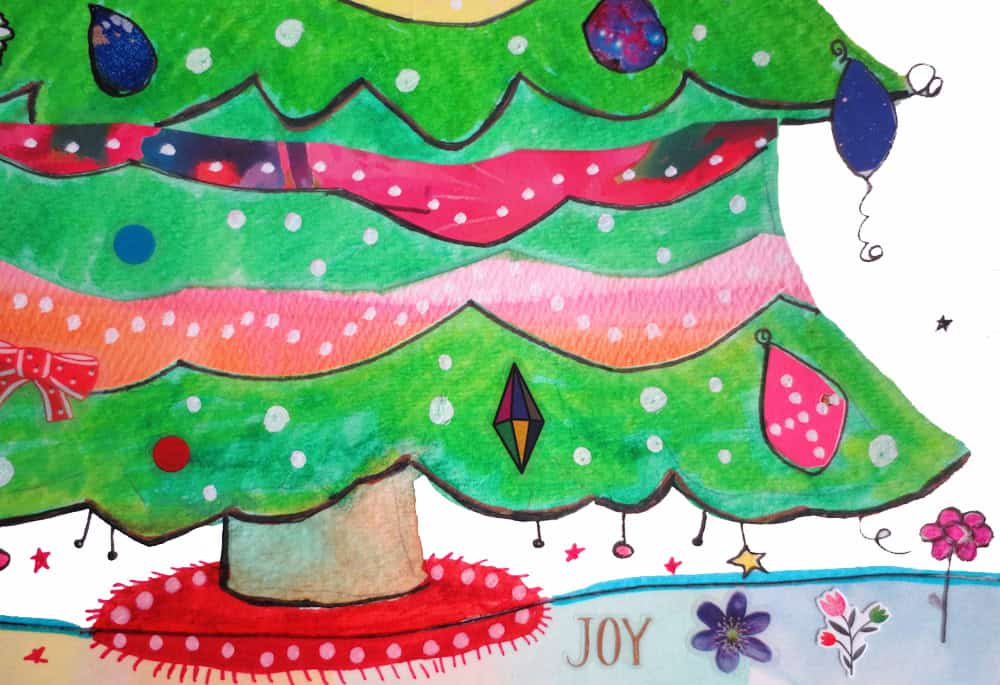
7.  Cut out ornament shapes from your painted papers, scrapbook paper scraps and magazine pages.  Put stickers on the tree for ornaments.  Place a bird or animal sticker to be sitting on the tree.  Outline any stickers that need defining.  After I started decorating, for some reason I began using green markers to color on top of the actual tree.  I didn't like it, but it was too late so I had to keep going.  If I did this again, I would just leave it with the watercolor paints only. Detail shot of tree 
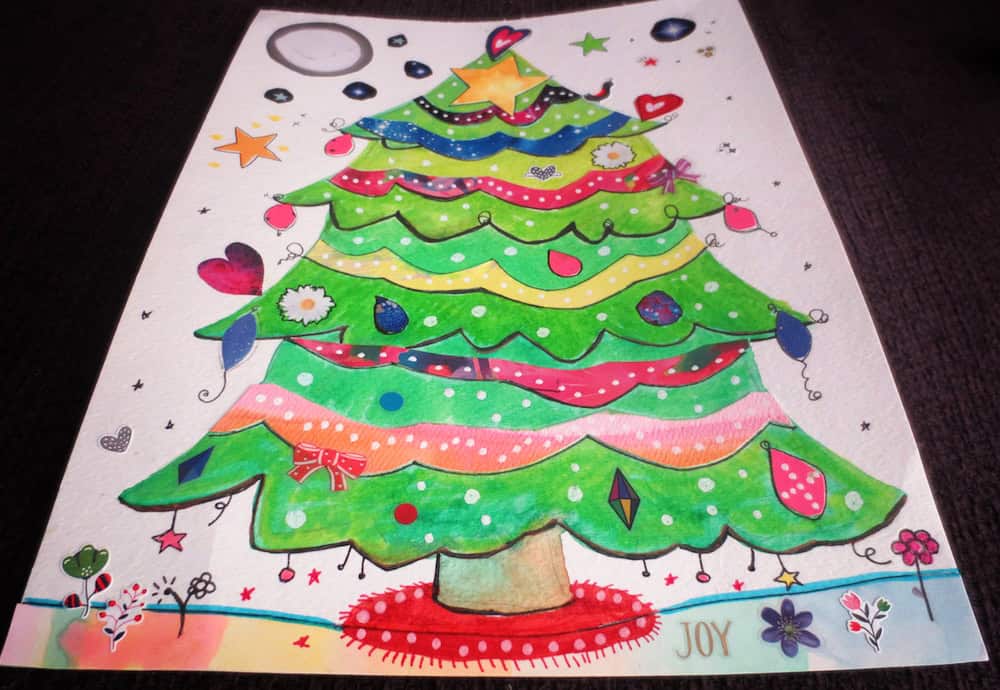
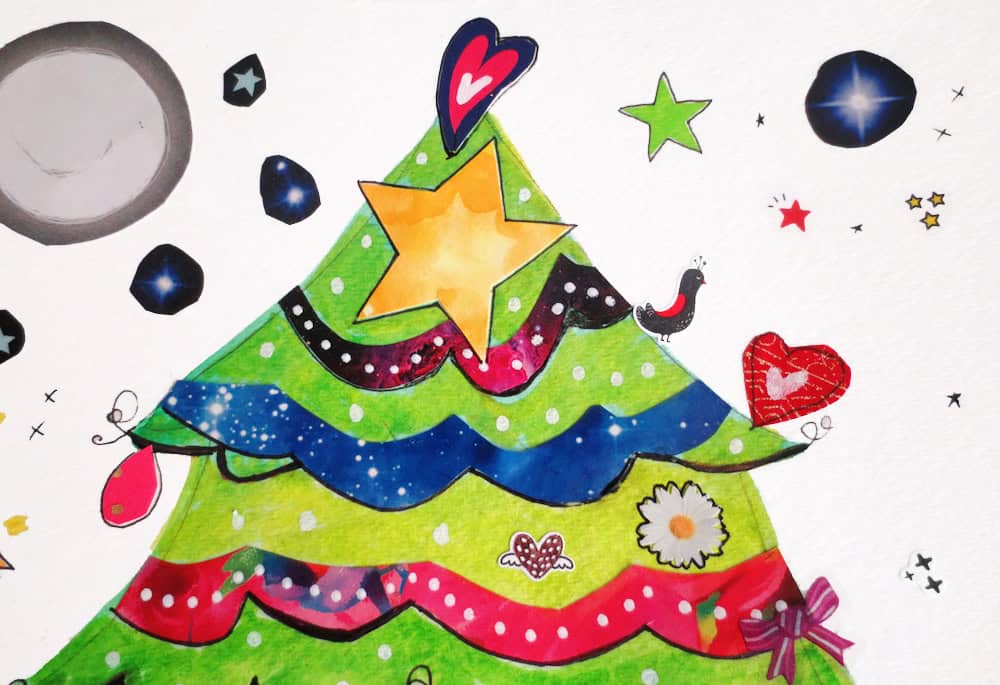
8.  Finally, in my opinion, white accents make everything better!  I used my white paint marker to add dots on to the garland and tree. Tree detail 
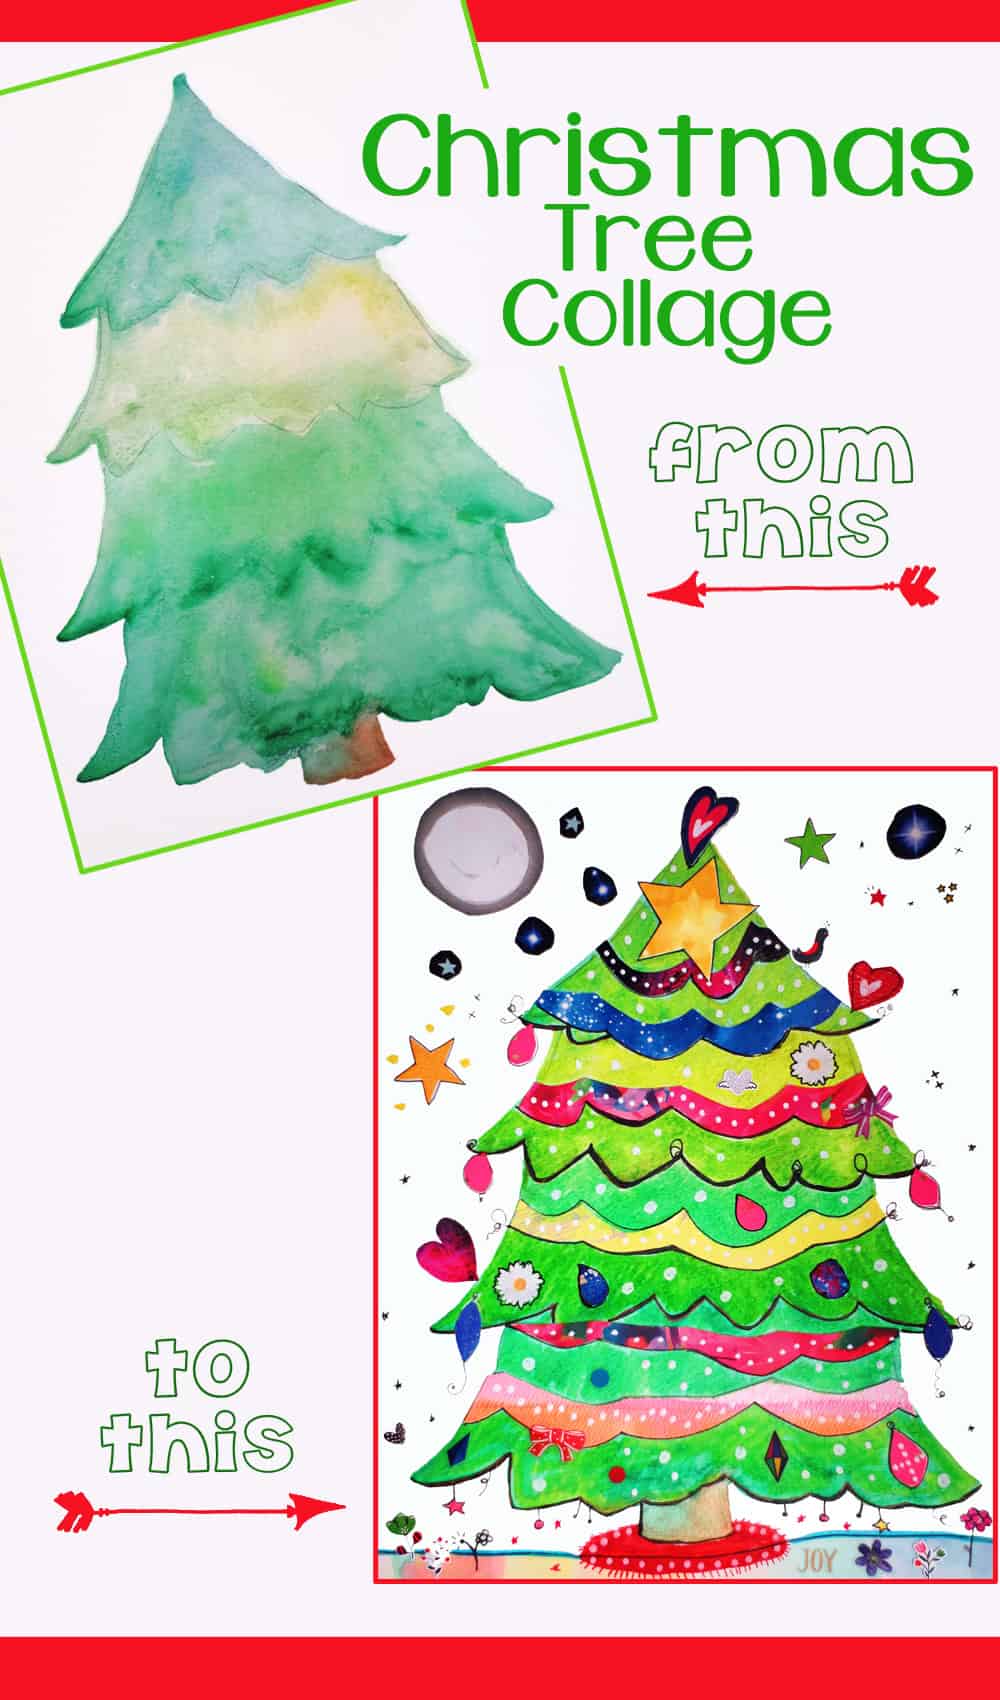
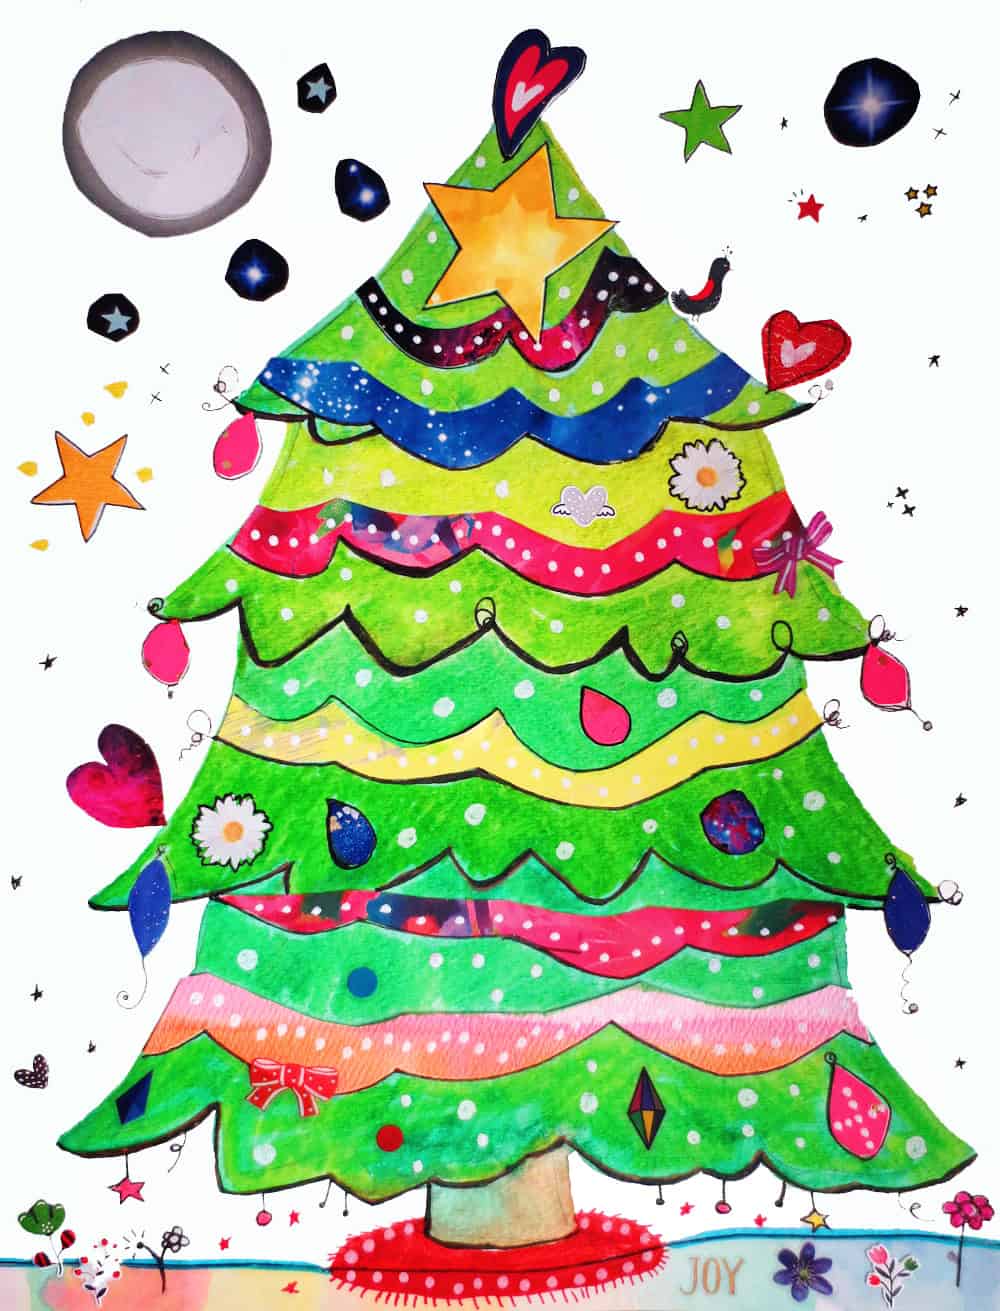
Here is the finished image! When you are done, you can frame it and hang it as a Christmas decoration or you can photocopy it and use it as a Christmas card.

christmas-tree christmas-tree-angle What do you think of this idea?  Do you like collage as much as I do?

Art is Basic
Facebook
Etsy
Pinterest

An Art Journal Page In Steps


Would you like to see me create an art journal page with a quote in steps?  Of course you do!  Here goes.


Art Journaling Technique: Fingerprints with Watercolor


Here is a quick and easy art technique to paint an interesting background or to make painted papers to cut apart for collages.


Masking with Watercolor

Hi friends!  Today's blogpost is a cross-post.  This week I was a guest blogger on Marit's Paper World for her Quirky Dutch Summer series.  In case you missed it, I thought I would share it here as well.

Masking with Watercolor

Watercolor is my favorite art medium to use, because I love how the colors can flow and blend together. The element of surprise is always a part of painting with watercolors because often the paint will move in ways you didn’t quite expect. As you use watercolors more, you can begin to predict and control the paints better. Today I am going to show you one of my favorite watercolor techniques to get shapes with crisp edges.

Dream-Finished

"Count the Stars" Lettering with Paper Scrap Background


After a two week winter break from school, we are having another 2 days off from school!  The wind chills are down to -55 degrees F and the actual temperatures are around -20 F.  This is the coldest it's been in about 10 years.  They've already called off school for tomorrow too.  

Daria and I played a lot of My Little Ponies, made some scones, watched some tv and I practiced some image transfers and painting while she played with my art stuff.  I thought today would be a good day to catch up on some blogging.

A few weeks ago I made this "Count the Stars" picture in my art journal.  I liked the strips of colors in this pin and decided to make something inspired by the background.  

1.  I started by sketching out the letters with a pencil.


2.  Then I outlined them using my Pilot Varsity Fountain Pen (my favorite pen ever.) 

3.  Next, I filled in the areas around the words with strips of blue and turquoise scraps.  Some pieces of patterned tape were added too.  I cut out the hexagon shapes and added a little colored pencil on the edges to make them stand out.


4.  The letters are colored in with colored pencils and white paint markers.  I looked at areas within the background that I thought could use little patches of watercolor paint and added in some extra color.


Keep in touch with me!
Art is Basic website
Facebook
Etsy Shop
Pinterest

How to Make Windows and Doors in Your Art Journal

Today is the start of Artist in Blogland's Scavenger Hunt Challenge. 
Visit Artists in Blogland to join in and link up with us.
  • Each month will be a different Scavenger Hunt theme!  
  • You will have the whole month of October to participate.  Link up an entry that fits the scavenger hunt.
  •  How is it a Scavenger Hunt?  You can interpret the challenge to be like a scavenger hunt.  
           1)  Take a photo that fits the theme
           2)  Make a new artwork inspired by the topic
           3)  Find an old artwork or blog post that incorporates the theme
           4)  Create a tutorial or respond in another way related to the theme.

The theme for the month of October is:

DOORS and WINDOWS

I decided to create some cut windows and doors for my art journal and take pictures along the way.


  • I used a separate piece of paper to practice cutting on.  I placed a cutting mat underneath the paper and used an x-acto knife to cut my windows.  The green stencil allows the cut to be straight and neat.

  • I cut square windows in a variety of sizes and a door.

  • I found some scrapbooking embellishments that fit around the holes pretty well! I glued those on to the paper.  


  • I added colored tape around some frames, some doodles with markers and more embellishments.

  • I found this old art journal page, which was ok, but I didn't love.  I tested out the windows by placing it on top of the journal page.  After seeing where the openings would be, I added the little instagram photo and a few of the texts.  

  •  After taping the window sheet onto my journal page, this is the end result.  I like that the top layer can be flipped open and you can see the bottom journal page as well.

  •  Here is a close-up shot of the windows.


  • and another detail shot.

  • And what it looks like with the little door opened.


  • If you don't want to cut all your own windows, another option is to take some old greeting cards with windows on them, trim them how you'd like and glue to your journal page.  

I hope you play along with us at the Scavenger Hunt Challenge!

Linking to Art Journal Every Day
Art is Basic website
My Art
Etsy Shop
Pinterest

How to Print Your Own Stickers Using Picmonkey

Keeping with the theme of stickers, today I'm going to show you one way that I've made my own stickers.  First, I went to the Avery website and tried their label maker.  The letters and the sizes turned out all wonky when I went to print them.  So instead I tried Picmonkey and that turned out much better.  You can use their whole site to edit photos and collages for free.  There are premium options as well to add more fonts and graphics. 

Materials: 
1.  Start by opening a collage in Picmonkey.  Choose one of the layouts.  I chose Biggie Smalls.  It doesn't really matter too much, because you can place your cursor on the edge of the squares and drag them to change the sizes.         


2.  Change the bottom setting to 2550 x 3000 pixels.  That would be the size (at 300 dpi) for an 8.5 x 11" piece of sticker paper.  You will have to click the little lock button on the side in order to allow it to change proportions, otherwise it will stay in a square shape.


3.  Next, click on the photos icon (which is the top one).  Click on "open photos" and choose photos from your desktop to upload.  I picked some of my artwork. 


4.  Drag your photos to the boxes.  You can drag photos into the spaces between the boxes.  Watch what happens when you do that.  It will add more spots to your collage.  Change the sizes of the pictures by dragged on the edges of the pictures.  I don't think you can zoom in or out on the pictures, which drives me nuts.

Click on the background icon.  You can change the spacing in between the circles, and make the corners rounded.  Here you can also change the background, but I left mine white.

5.  The Swatches tab allows you to add patterns instead of a picture.  I added a few swatches in between my photos.  I wish there were more patterns to choose from!


6.  Here, you can see my masterpiece taking shape.  I added my swatches and changed the sizes of my photos.  Now, save your masterpiece to your computer.  I saved it as a "Sean" size.  That is the largest file size. 

7.  After you save it, click on the "x" in the top right corner.  Then, go to edit a photo.  Your photo collage thus far should be there.  If not, just upload the one you saved.  Now, you can add text and overlays.

Click on the Overlays icon and you can add fun doodly hearts, stars and shapes.  At this point, I am really tempted to pay for Premium!  Drag some fun designs on to your stickers.


8.  Finally, click on the "P" on the left, the text icon.  Now you can add words if you'd like.  There are some very fun fonts here.  The orange crown next to the text shows the ones you can get if you pay for it.  Sigh.  So tempting! 

9.  The last step is to save your file.  Then, load up your sticker paper in your printer and print off your file.  Yay!  Now you have stickers!  Your stickers can be any shape or size, because you will cut out each shape individually.

I hope you've enjoyed this post.  Stickers are so much fun.  Add them to your art journals, mixed media artwork, scrapbook pages, greeting cards or whatever!


Check out the other posts in this series about using your stickers and tapes in art journal pages:

1.  Sticky Inspiration
2.  My new stickers & some pages with them
3.  Using patterned tape in an art journal page
4.  Guest Post:  Marly Martinez
5.  Tape Lines artwork

Linking up to:


Art is Basic website
My Art
Etsy Shop
Pinterest
-->

Crayon Transfer Technique at Artists in Blogland

Hello.  I wrote a tutorial over at Artists in Blogland that is featured today.   I'm reposting here on my blog in case you missed it.  You should check out the group.  There is a lot going on over there:  Technique on Tuesday, Color the Quote challenges and Show & Tell Saturdays. 

And look!  My "Heart Speaks in Whispers" postcard is featured in the "I Have a Secret" Etsy Treasury.  Isn't that a fun treasury?

Crayon Transfer Technique

Today I am going to show you a very fun technique for unleashing your inner child in your art journal.  When I was little, I would use this crayon transfer technique all the time.  It was so magical to me.  I had forgotten all about it until I saw a blog post on a crafty momma blog.  Visit the Chocolate Muffin Tree to see what she did with her kids.

First, start by coloring a loose piece of paper in patches.  Color really hard.. use those muscles!  Regular crayons work just fine, but you could also use gelatos or oil pastels.


My daughter helping to color a sheet.
Page covered in crayon and oil pastels
Place your colored page face down on top of a page in your art journal.

Write, draw and doodle with a ball point pen on top of the paper.  Apply lots of pressure with the pen.  While you are writing, the crayon will transfer over to the journal page.
Writing on top of the paper.


When you lift the paper, your drawings and words will transfer.
I don't want to confuse you, but another way to transfer is to place the colored sheet face up in between two pages.  Draw on the back of one of the pages, and the crayons will also transfer (in reverse).

Here is what I mean:
Colored paper underneath.  Draw on top with pen.

Here are a few more examples of in progress journal pages with crayon transfers on them.


What to do with the leftover crayon-colored sheets?  You can tear them up to create backgrounds!


Thanks for reading!  Best wishes, Marcia
Art is Basic website
My Art
Etsy Shop
Pinterest